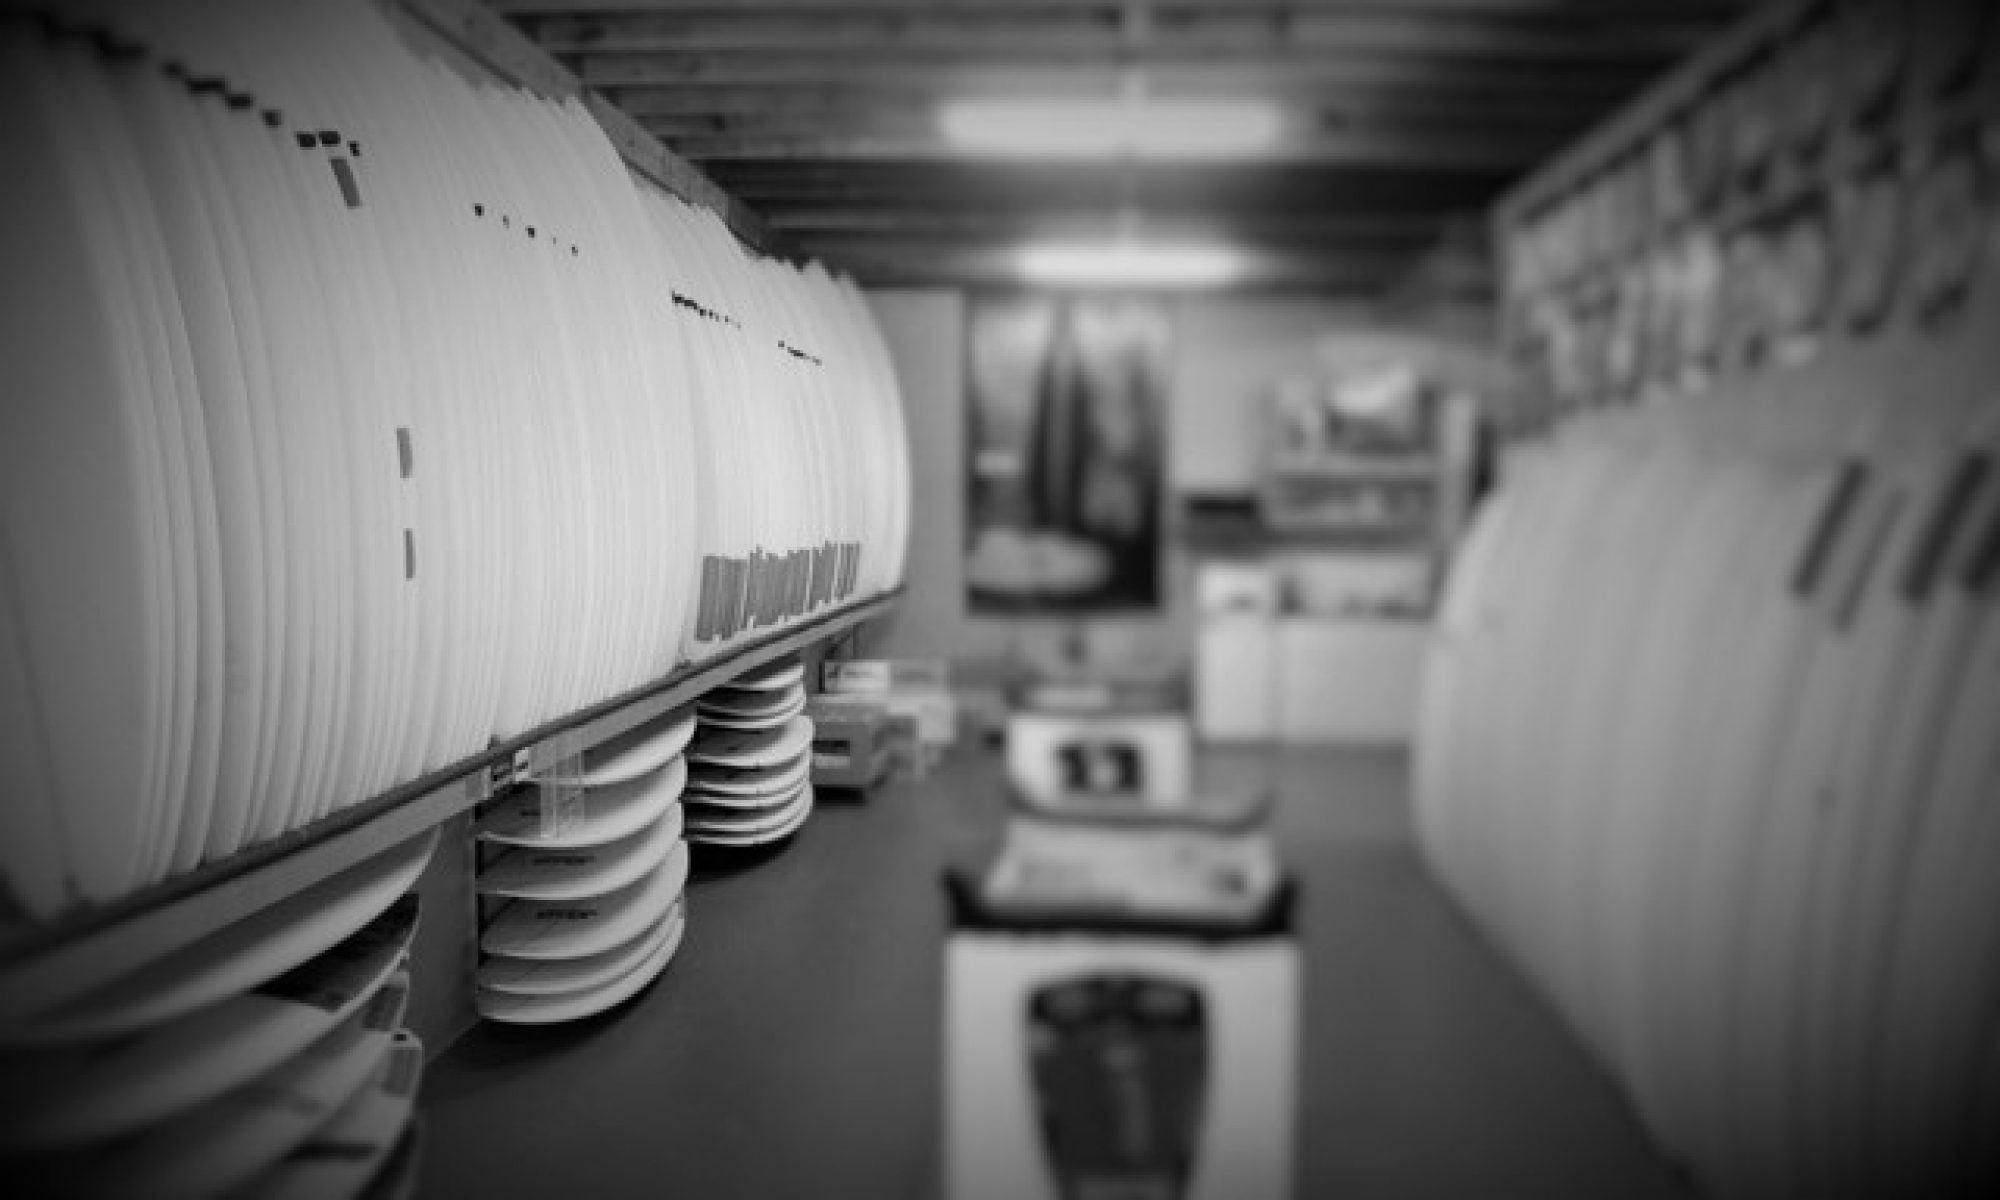
The “forty one two” is here !!!

Stoked … picked up the cut blank for the ‘forty one two’ this afternoon. Sorry the pic’s not better, but I did not have time to get the ‘ozito bay’ set up for some better pic’s, so the garage floor was a quick solution …

Gotta say, AKU Shaper is awesome! The 3D image is very realistic with the cut blank so close to the rendered image …

This one is more “refined” which is what I wanted, and what I had done to tweak the ‘forty one’ file to design this one.

Rails look heaps better, way less foam from the chest forward, and just the slightest 1/8″ of concave in the bottom (which is exactly the measurement I had designed into it on AKU Shaper) … the tail looks much better too, but I won’t really know how much better until I get it into the ‘ozito bay’ and shave some foam off and reshape the machine dags on the blank …

Can you guess that I’m excited?

EDIT: Here’s a better pick of the machine cut blank:

The ‘jazz’ – we’ve added some colour

With the machine cut for the ‘forty one two’ not here for the weekend … my gidget and I, took the spare time to add some colour to the “jazz” which is the first board I made, and which was actually made for her … when I made it, the colour and artwork were low priority as it was more about getting into the process of making, glassing, etc ..

Anyway, my gidget wanted some colour, so this is what we’ve ended up with on her board … it’s all water based kids finger paint straight onto the finished board … we have a few spots to touch up and then I’ll spray it with some clear acrylic from a spray can … it’s her design and colour choice.

The ‘forty one two’ has evolved …

I’ve been playing around with the ‘forty one’ in AKU Shaper and it has now evolved into the ‘forty one two’ … I’ve pulled the tail in, as can be seen in the picture,  and have taken some volume out of the rails and from the chest forward. Taking that foam out dropped the volume a bit, so I’ve then added some concave into the file design so I will not have to take as much off the blank once it’s cut.

So, the ‘forty one two’ is starting it’s life … I’ve just e-mailed the file for machine cutting … which hopefully I can collect on Friday.

Here’s a link to a full profile of the board …

The ‘forty one’ – butcher or not …

The ‘forty one’ has had a work out over the last week … starting within less than a day of it being finished! So much for letting it cure … Anyway, it started out feeling ‘spongy’. which I was told is common for UV resin, but yesterday, it felt more solid. I put this down to it either getting harder (i.e. curing) or the deck depressions compressing the form to such an extent it can not go much further. Either way, it goes OK.

Two things I feel with it … One, it feels a bit long, which I feel is due to the foam from my chest up … the other, is it feels a bit tighter in turns, and with the same fins, same fin positions, and basically the same concaves as the board from which it was copied, the only reason is the tail shape. This pic shows the difference.

So, the question is, do I butcher this board and chop a bit off the nose and pull in the tail?

The ‘forty one’ is finished and ready to surf …

So, in short, I’m pretty stoked to have the 1st board finished. It’s taken longer at every step, which is not a big issue when you’re making board for yourself, but it did become frustrating … As you can read from the history here, there’s been some ‘learning’ along the way.

The good … the glass job on the ‘forty one’ is much better than what I did on the “jazz” … that all stems from getting the laps onto the deck wrapped and wet … which then meant I was not chasing the smooth finish sanding and therefore no sand thru’s , well almost none …

The bad … that’s the sand thru at the front of the r’ear fin … as I posted at the time … gotta learn to take my time!

The patch job to fix the sand thru and bubbles holes around the other boxes came up OK.

All in all … stoked … time to go surfing and try this one …


Fin install “issues” … fixed

So, I fixed up my sand thru ‘issue’. While I was going I put some resin into the air bubble holes around the other boxes.

In the end it’s come up OK, although the sand thru spot just looks ugly.

Might fix that with some colour, or even white, down the track.

Stuffed up sanding the fin boxes …

OK, so, I’ve done it … sanded thru the front of the glass, into the foam, in front of the rear fin box.

Bugger.

Due to the double concave, it was difficult to get the box sanded down, and I ended up taking too much …

Looks like a patch job is needed!

From machine cut blank to a smooth finish …

From cut blank to smooth finish …. Easily done in 20 mins ?

Mucking around with the nose and tail took some time, and then it was slow and steady with the concaves, so all up it was 3 hours on Friday afternoon / evening / night.  Then yesterday morning I checked the concaves and rails, and ended up with another 2 hours of ‘slow and steady’ fine tuning … very careful to only take a small amount of foam … as they say ‘easy to take off, hard to put it back on’ ..

The ‘forty one’ – machine cut blank is here

Totally stocked … picked up the ‘forty one’ machine cut blank today!

Looks very much like the AKU shaper file, but, it will need some refinement to get a good “base” design from which I can create various boards.

Things that need a tweak are:

  • Rails … probably a bit boxy,
  • Tail … looks a bit wide, may need a tweak
  • Nose … bit much foam from chest up

I’ve had this one cut with no bottom contours so I can shape them in myself. I was not sure how mucb to put into the ‘design’ on the computer or how it would then translate to the machine cut.

Probox Fin System … why?

So, after the hassles with the install of the fin plugs on the ‘jazz’ I did some research for an ‘easier’ fin system to install. I came across two “systems” that look OK … the 4 way fin system and the probox fin system … both having the after glassing install, but due to the ‘cant’ inserts, meaning the plugs / boxes were installed “flat’ meaning less hassle with the install for a newbie like me … the 4 ways system offers more “adjustments” but means using their fins, while the probox can handle both FCS and Futures type fins … so, I decided to go with the probox system.

So, I contact the Australian Distributor, and spoke with lance at Hanalei Fin Systems … I was a bit anxious being a newbie, but Lance was great, really helpful and happy to deal with my newbie questions. I e-mailed him and order and dropped the $ into their account that night, he confirmed the order the next morning and posted it to me so I had it two days later. Stoked. Great service.

So, looking forward to installing these in the ‘forty one’ … stay tuned.